If your kids are anything like mine, they’ll regularly produce a mountain of drawings, paintings and notes. From those first ones when they were making unrecognisable scribbles, to the first written notes, and then things that are actually pretty good drawings! They’re a marker of their progress as they grow up, and I want to keep them.
However, there is a LOT of this stuff, and it just keeps coming! So what can you do to keep on top of it all Read on for my top tips for storing your kids’ artwork (and school work/certificates/special birthday cards… you get the picture!)
MANAGE WHAT’S BEING KEPT
I’m pretty ruthless when it comes to this stuff, but I know that it’s not always that easy to sort the memories from the rubbish, so we have two rules in our house to help:
- If you leave it out when it’s time to tidy up, it goes
- You can keep whatever you like, as long as it fits in your drawer
These rules help set boundaries and expectations for the kids. They each have a drawer in the kitchen in which they can store whatever creations they like. Anything that doesn’t make the cut and that gets left out on the side at the end of the day is my decision. I remind them about these rules when they’re tidying up, and on the whole, we manage to avoid the meltdowns because ultimately they are in charge of the decisions.
GET A SHORT TERM STORAGE BOX
As I’m scooping up the piles of paper from the kitchen table, or going through the school bags, I’ll have a quick look through and anything that makes me smile goes straight into the magazine file I use for temporary storage. I’ll scribble the date and child’s name on the back, so I know who’s done what, but nothing more than that. It all goes in together. You could use a drawer, a box, or a filing cabinet. Anything that contains the paper and is specific for this purpose. Just make sure it’s close by and easy to get to.
“ If you have to move things from the top of the cupboard to put these masterpieces away quickly, you won’t do it!”
GET A SYSTEM AND CHECK FOR SMILES
Every month or so (or more, if your kids are prolific creators!), take our your short term storage stash and go through it. Do all the things in there still make you smile? When you’re looking at things en masse, are there some that no longer seem precious? Let go of them. This is about storing memories, so only store the ones that are worth it!
You probably have years of this stuff to come, so if you’re keeping things now that don’t mean much to you, how will you feel about them when they’ve been stored away for another five years? My guess is even less, so drill it down to the good stuff! I promise that when the kids are all grown up, they will never be grateful for 26 archive boxes of their drawings from age 2-18 that you’ve been carefully storing for them, so only keep what makes you smile.
HOW TO STORE IT ALL
So you know what you want to keep forever, but what do you do with it? What works for you will depend on whether you just want keep the masterpieces safe, or if you’d like to be able to look at them more often. Here are some options that will help keep your home organised and calm.
A memory box
The easiest and quickest thing you can probably do, is just put it in a lidded box (with a label on, of course!). It’s quick and easy and, if you have the room, you can tuck the box out of sight. You might think that if you’re just storing things in a box, why not stick it all straight in there as soon as it’s done, but that’s the point: You’d probably end up sticking it ALL in there. Go back to step 3 and make sure you have a bit of time before you decide what gets saved forever. What was cute at the time might turn out to be just one of a million Gryffindor house crests created in the space of a few weeks. Save the best one!
Suspension files or expandable art portfolios
These give you the option to separate out the work by year (or whatever categories work for you). They can get a little bulky, especially if you’re in the pre-school years where there’s a lot of thick paint and glued on buttons, so you’ll need space to store them, but if you have it, it’s nice to be able to touch the originals. Something to consider with these options though, is whether small people might be likely to get everything out and jumble up your carefully assembled filing system!
Here are a couple of examples of an expanding paper folder and a suspension file box.
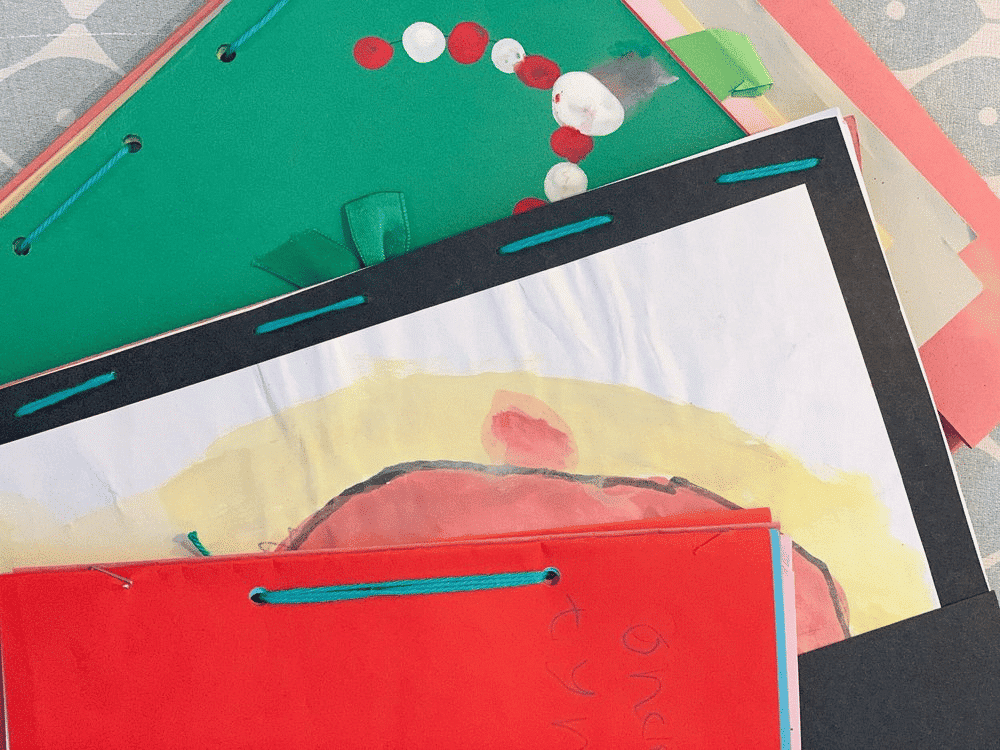
Binding
Another really simple way to store artwork, which keeps everything together is to simply hole punch each piece and bind it together. This is the method I use as I like to keep the originals, but don’t want loose papers potentially floating around. You can use a ring binder (I’d recommend a 4 ring binder to keep things firmly attached long term) or do as I do, and just grab a piece of string, thread it through the holes to tie the pages together and make a little book. It’s super easy and is a lovely way to keep things in date order.
Digital storage
If you don’t mind letting go of the originals, or don’t have much space, there are plenty of digital options.
Keepy lets you upload pictures of the art work and sort it by your child’s age. The artist can record a voice messages to attach to the uploads and explain what they’ve drawn. This can then be shared with friends and family who can also add messages.
Doodle Nest is another digital option. They will send you a box which you fill with art (it can be anything – pictures, notes, 3D models). Professional photographers will take pictures of everything and edit for you into a fully customisable book or collage.
If you don’t mind photographing the work yourself, and want a hard copy to look through, a standard photo book is an easy option. Photobox, Snapfish, Mix Book and Shutterfly are just some of the many options.
So there you go, some top tips for storing your kids’ artwork!